Check out my Fulda Art Pinterest Board for the resources that I used for this project.
Enjoy!
-J
My Crafty Beautiful Life |
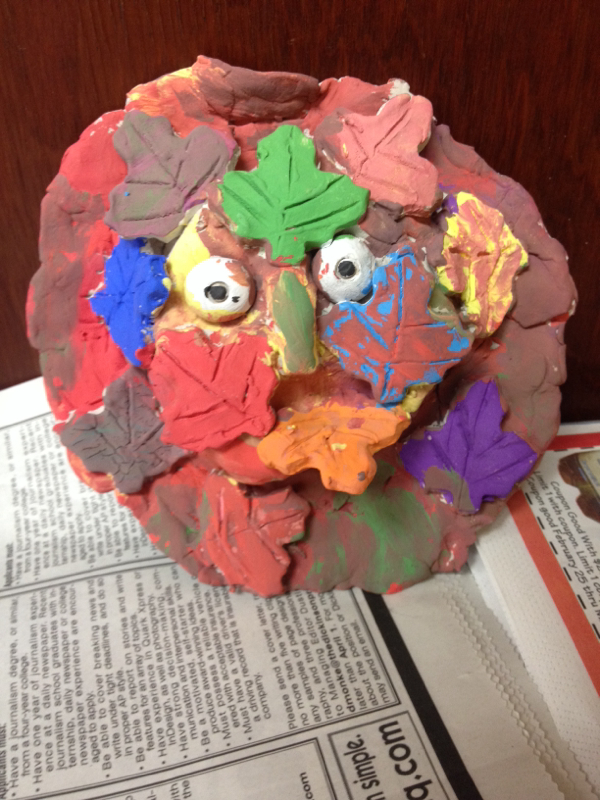
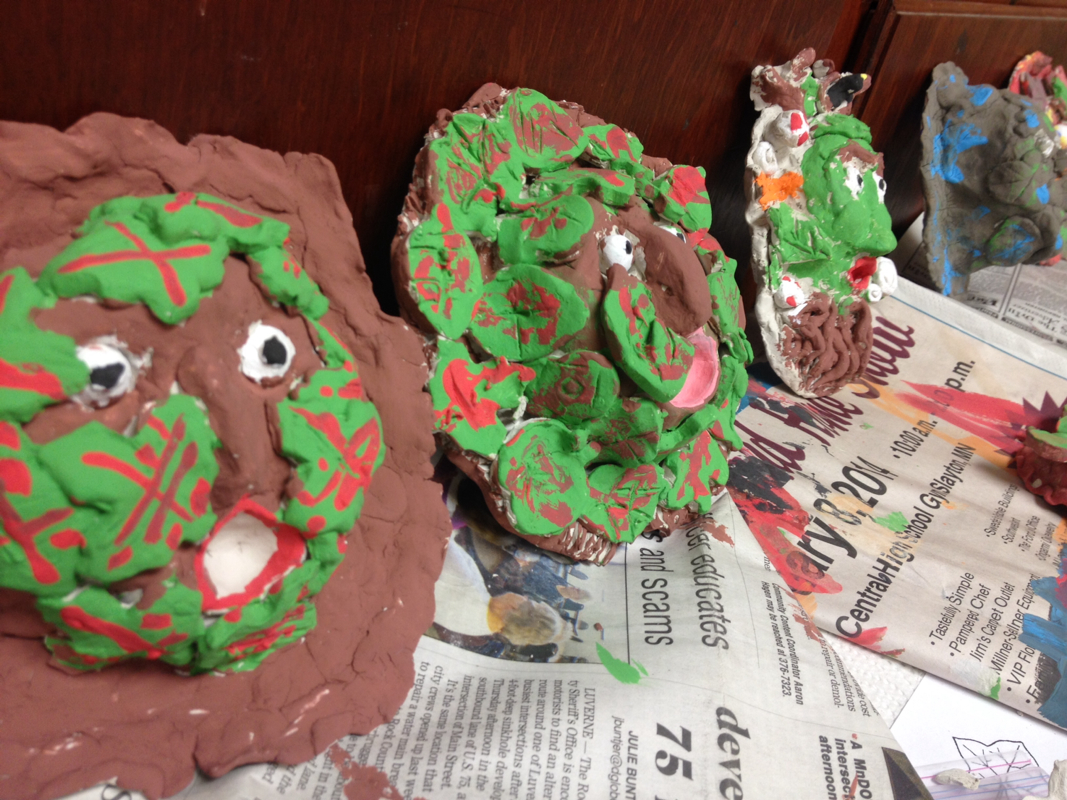
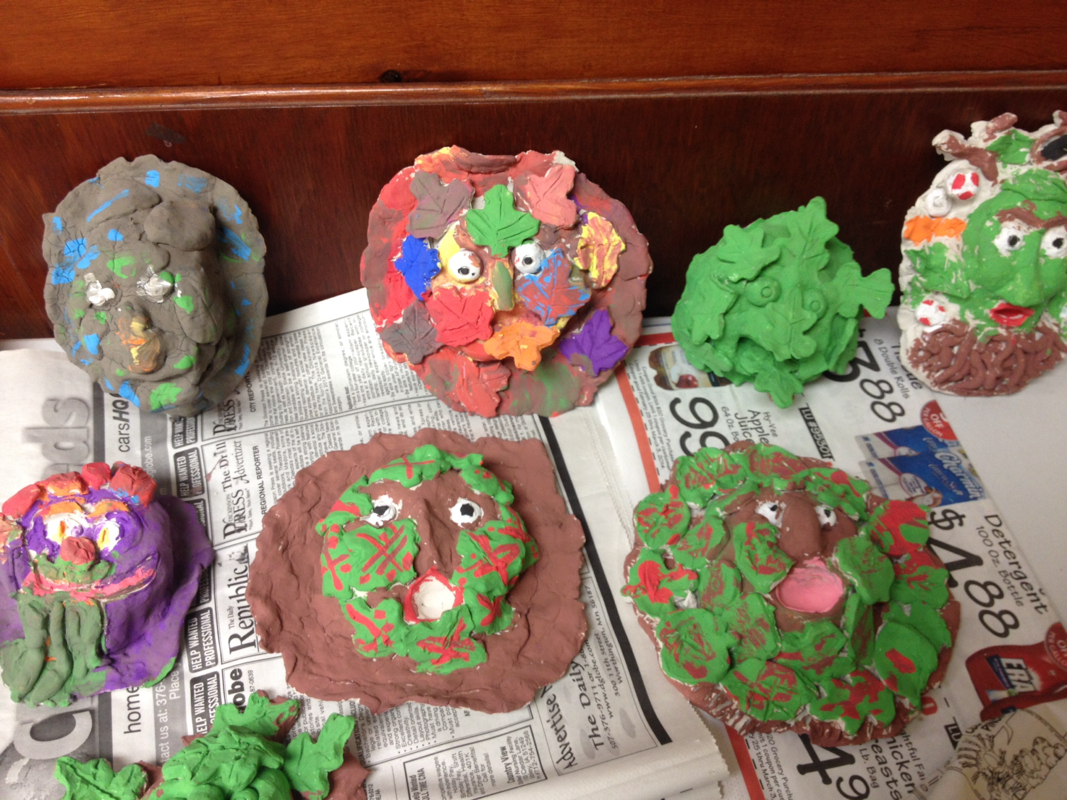
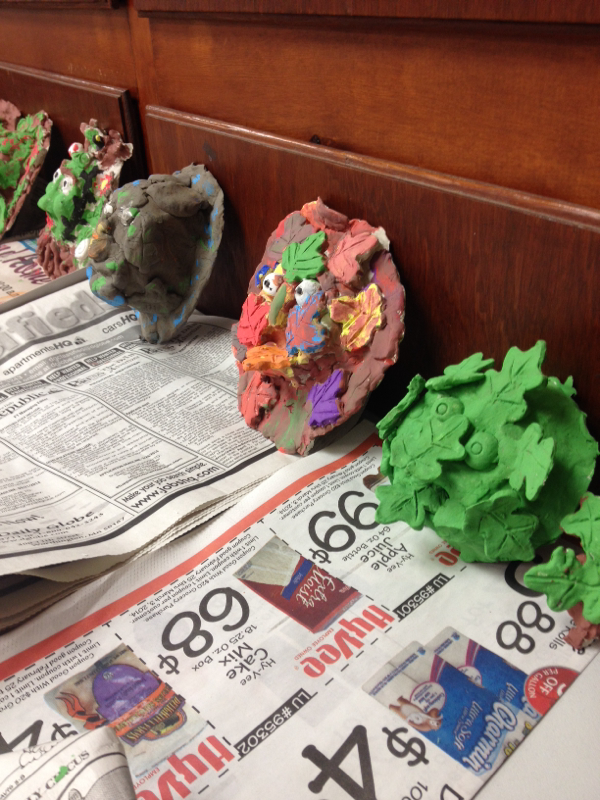
The Green Man Masks are finished! The kids did a great job with details in the clay and did well painting! I was not there to help them with tips on painting, but I thought they did a great job! Check out my Fulda Art Pinterest Board for the resources that I used for this project. This is a great resource that I found for teaching this project. The link to where I found this is also on my Pinterest board. Below is the document that I used as visual resources for students. The Green Man is a pretty easy guy to find! 
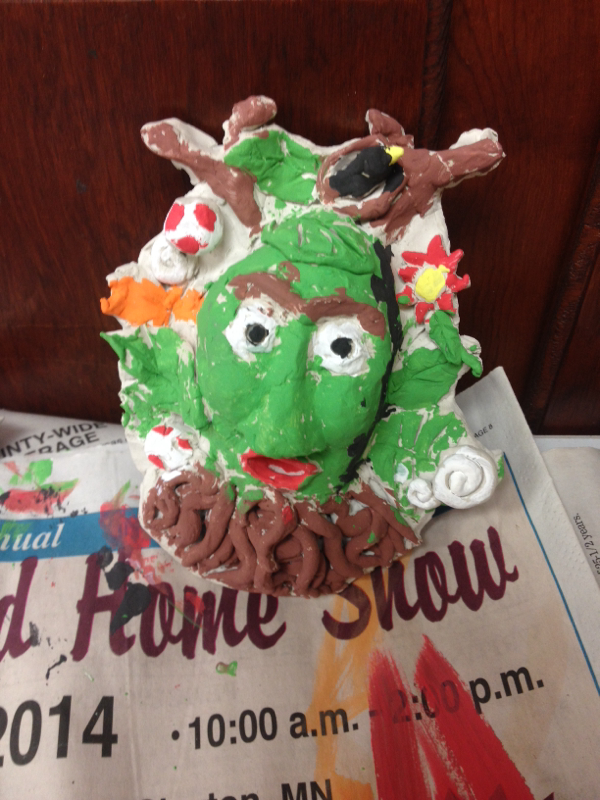
I really like this one with all of the bugs, leaves, branches and the bird on top! So cute!
Enjoy! -J
0 Comments
Today I'm going to share some of the Art Lessons I have found through my searches on Pinterest. These are great lessons and links to use because the ideas of the lessons are very clear in the person's blog post, easy to understand and teach from my standpoint, and they turned out well when I used them at the Christian school I have been teaching art at! Bad Hair Day Line Project : 1st and 2nd GradeI found this project from ARTipelago and she has great step by step instructions and pictures for teaching this lesson that incorporates line. I taught this to 1st and 2nd graders The first step begins with making a U-shape for the face. When I started out the project I did not tell the kids that it was going to be a person; I just had them draw the U-shape, then went into telling them how to do the lines coming out of it (which end up being the crazy hair!) I would suggest STRESSING that they cannot fill in the U-Shape at all so that they can make their face, if you are surprising them then you have to stress it even more because they don't know why they're doing that! I also had them color in with PRIMARY COLORS, if they got done early. Good segue into a color theory lesson the next time you see the kids! I love how even lessons that have step by step instruction can end up being so varied in results at this age. Kindergarten Shape PeopleThe shape people lesson was found as a video tutorial on one of my favorite sites for Art Ed resources; The Art of ED - Kindergarten Shape People This link, like I said, has a video, and also a free printable of the shapes for the shape people.. You just can't go wrong!! This incorporates shapes, lines, cutting, gluing and imagination! Very age appropriate for kindergarten! A+ lesson! Russian Cathedral WaterColors: 5th and 6th GradeThese Russian Cathedrals were inspired by the Olympics in Russia, and are missing some perspective or at least a horizon line. I do however like how the actual buildings turned out. This project was inspired by "A Faithful Attempts'" Watercolor Mosque Paintings This webpage gives great step by step ideas on how to do the process. It uses pencil sketches, drawings, sharpie markers. Then it uses washable markers to color in the areas and water and paintbrushes to spread out the marker pigment to give the look of watercolor! This can turn out really cool if it works. I think I may have used too thick of paper because our markers were not spreading very well when the water was put on them. I would suggest testing out the markers and paper that you have to make sure they spread! At the school I teach at, I only have 1 day in a week, and a lot of times it is every other week, so I try to do a new project every time. If I had a more consistent schedule I would make this project go over the process of 3-5 days. I created a PowerPoint about Shape that I included below, and it also has examples of the Russian Cathedrals in it as well! I highly recommend trying these lessons! -J After a Spring Break spent Pre-Student Teaching, I got right back into the swing of things at school and had my Junior Art Review. For this I had to display my artwork for my professors and talk about it, and they give me feedback and let me know if I'm ready for my Senior Show. It went well, but I am glad to have it over with! One of the things I like to do as I create artwork is to make lesson plans to go with them that I could later use for my students when I am teaching art. For this painting, I created a lesson that I would call, "Paint like ______". This is the process I would have students follow: -Research an Artist, their style, medium, and famous art works -Choose one of the artworks, print it in color, and cut a piece out -Glue that piece on to a canvas -Paint around the piece in the style of the artist -Use the same medium and techniques they used -Color match with paint, blend in cut out image For my painting, I looked at Monet and used his "Haystacks" painting. I painted impressionistically around it with broken color and visible brush strokes to simulate his style. I also referenced Monets "Waterlillies" paintings in my composition. Here is the lesson plan I created for this. There are various resources at the bottom that I used. This could be used for middle school or high school and there are endless possibilities for what you could do with it. Incorporating art history is always a great thing!!
Happy Spring! -J New Opportunity: Teaching Art At A Christian SchoolI'm am so excited to share that I have been given the opportunity to be a guest teacher at a Christian school in Fulda, MN. I go and teach art to students in grades K-8 once a week. This is so exciting for me to get to practice my future profession, and I have had a lot of fun creating lesson plans for these wonderful students. As you may know, Christian schools around this area are pretty small. This school only has classroom teachers- they do not have a special PE teacher, art teacher, or music teacher- so needless to say, the kids have been excited to have me there. And I am excited to be there! Class sizes are 5-12 kids, and they are so eager to learn! Working with these students has made it clear and confirmed that I am pursuing the right career, and teaching art is what I want to do! I have been working hard on lesson plans, so I thought I would share one with you! Romero Britto Art Line LessonI first saw the work of Romero Britto on my honeymoon cruise. His artwork is featured on Royal Caribbean Cruise Ships- here is a link to his work on cruise lines. I was so interested and inspired by Britto's happy, Pop Art that I bought his book and began dreaming up lessons I could make for my students. I created this Power Point to present the artist, his work, and the assignment to students in grades 3-8 ( revised instruction for each grade). I also presented Line as an Element of art that the students should focus on as they work on this project. The Power Point here is basically all about Britto- but the entire time I asked the students to point out the types of lines they saw in his images. I also asked them to find other interesting characteristics about his work.
We noted that he uses: -Strong Black Outlines -Bright, Happy Colors -Interesting patterns -Basic, Simple Shapes -Unrealistic, geometric images -Pop Culture Images And these things became the requirements for the project. The students were allowed to choose a subject of their choice to create a piece of art in the style of Britto. The notes above were what they had to do to make it in the style of Britto. I had the students use black sharpies to create their thick, black outlines. Then they could use markers, crayons or colored pencils to add their bright colors and patterns. I had to remind them to use simple shapes, and showed them the Power Point and my Britto Book to give examples of this. For older students, I showed them all of Britto's ad campaigns, posters, and logos that her revised. Older students love the idea of using images they can copy and add too. It's pretty fun! They all turned out great! Let me know if you try your own Britto Project! -J |