"The sweetest way to end the sweetest day is with a quick brush of your teeth to keep the cavities away!"
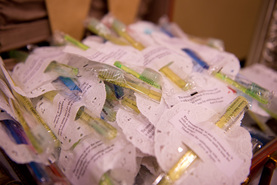
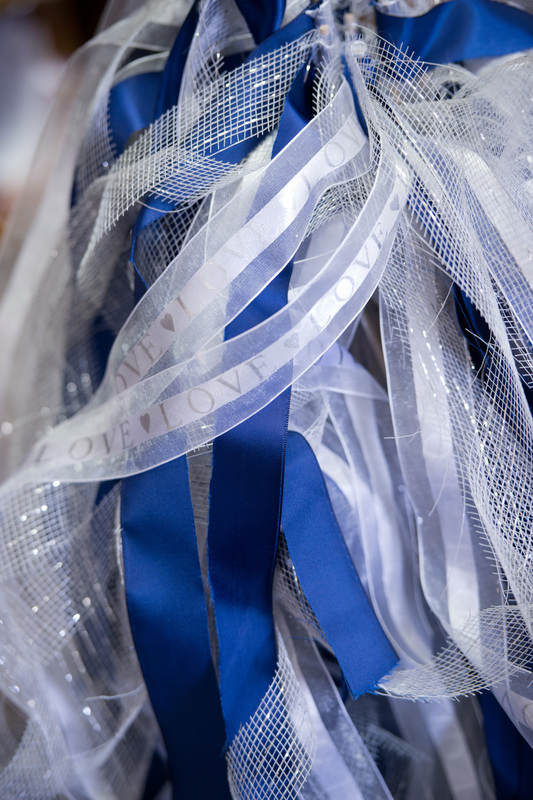
As I sit here and eat ice cream before bed I can't help but recall one of the greatest nights of sweetness in my entire life-my wedding night! I thought I would share our wedding favor that we made- toothbrushes! Since we had a dessert bar for the reception of our wedding we thought it was fitting! The toothbrushes were just one use, pre-pasted brushes that we got from smilemakers.com. 
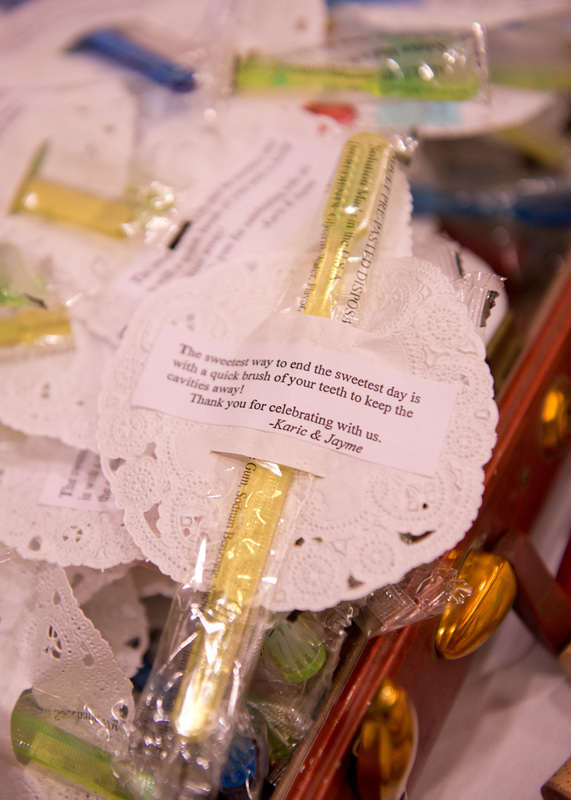
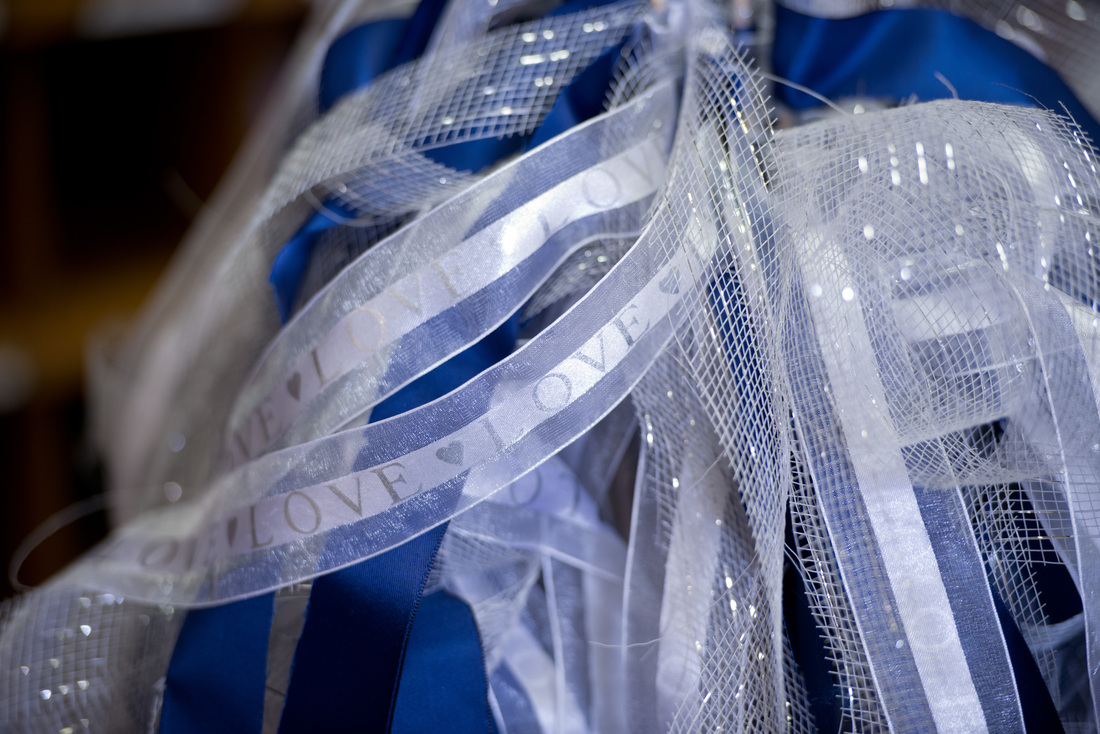
We then slide the toothbrushes through slits we made in small paper doilies and added this saying to them, "The sweetest way to end the sweetest day is with a quick brush of your teeth to keep the cavities away!" 
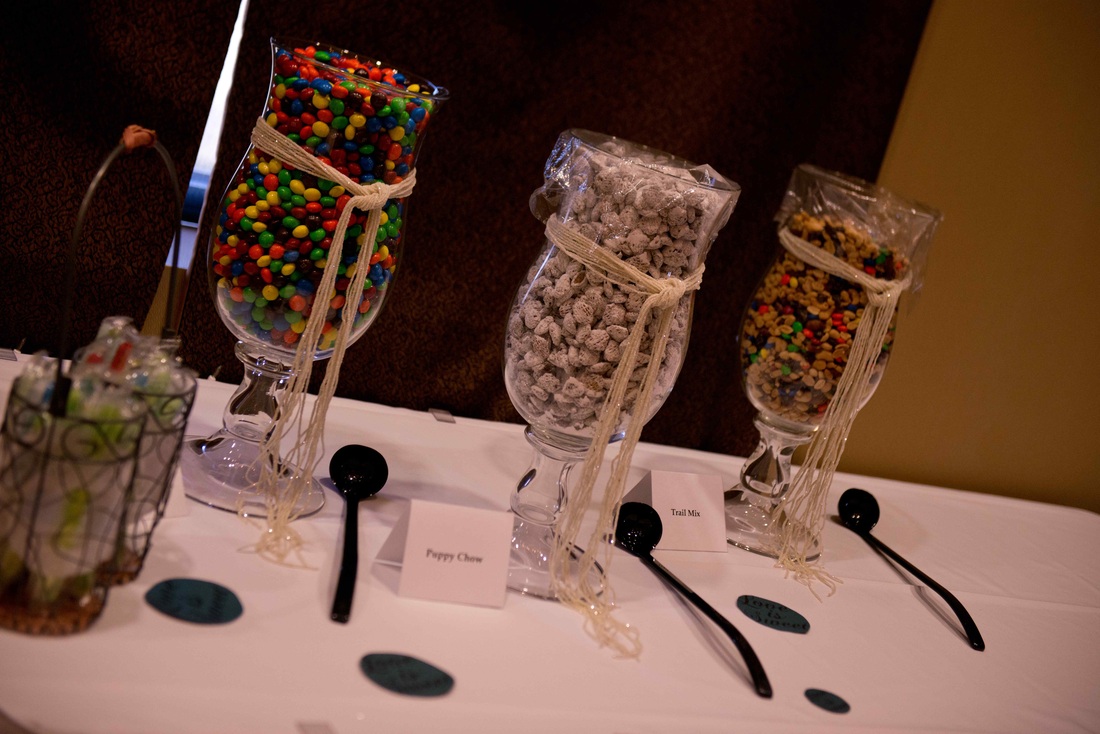
Here are some of the sweet treats we had at the reception! Yum!
1 Comment
So our beautiful 2 (and a half) year old has been transitioning from the toddler room at daycare to the preschool room- it's bittersweet that he's growing up so fast! He is having a bit of a hard time transitioning though, he had really gotten to know his teacher and friends in the toddler room. Everyday we get ready to go the preschool room and he screams "No! Toddler Room!". It's sad right now, but it is nice to know that he enjoys daycare, and eventually he will get used to the new room! This is the little gift we gave to his toddler teacher, whom he prays for every night- so sweet! "Thank you for making the toddler room so sweet!" Rory also recently transitioned from his crib to the toddler bed! Oofta has it been a rough few nights. The first two days it took two hours to fall asleep because of course he had fun getting out of bed, turning on the lights and playing in his room. He also uses the excuse of having to go potty to get out of his room as well. He eventually does fall asleep and looks pretty cute :) Another adventure we had was trying to get passports. I say trying because who knows if the government will accept the picture we got of Rory that took about 45 minutes in the local post office to capture. He is at the terrible two (and a half) stage as of this past month and has been giving us a run for our money on just about everything! Thank goodness the people working at the post office were in pretty patient moods. We had to try EVERYTHING to get the kid to sit still and look in the direction of the camera without screaming and crying! We had skittles, Buzz Lightyear, songs, color games, threats, bribes, and finally got smart and let him look at our phones. They even had Karic taking the pictures, which I'm not sure was something that normally happens! They had to print it out 3 times because the printer was doing weird things and there were inexperienced people using the camera :) Enjoy the little mugshots of our terrible two year old and we will try to enjoy him while he is little, even if he is a bit of a stinker :)
-J I thought I would give one more painting lesson idea post for this week. I posted this painting this fall and I had a few people ask me to paint one for them. Honestly, this is probably the least amount of time I have spent on any of my art projects during my time in college! This still life was completed in one long setting, with a short second setting that was for finishing touches. It probably took a total of 3 hours, if that. This is actually one of the first still life's I have set up on my own, I do not do much art from life, and I really need to have more practice with that! This turned out to be a good exercise for me. I was inspired by van Gogh's "Still Life with Pears". For the lesson I would talk about Van Gogh and his impressionistic style, and stress the importance of doing this quickly, and not worrying about it being perfect. All I did was set up my still life, quickly draw the basic shapes that I saw on a small canvas, and then began painting with oils! I blocked in basic shapes with broken color- meaning I didn't just use paint on one flat color, I mixed my colors on the canvas. The key to creating shadows is adding hints of the complimentary color to the main color (orange's compliment is blue). I layered on a lot of paint and this created actual texture on the canvas. These images show the process from the drawing, blocking in the background, then each shape of pumpkin. I definitely recommend doing a still-life with pumpkins! They are so interesting and can vary in color so much! There are also close ups of the texture and the changes in value of the paint because of the way I mixed it on the canvas. I really like how it turned out! Below is the lesson plan I developed with this painting. Other resources and videos I used are included at the bottom of the lesson plan. Good luck with your own still life adventures! -J After a Spring Break spent Pre-Student Teaching, I got right back into the swing of things at school and had my Junior Art Review. For this I had to display my artwork for my professors and talk about it, and they give me feedback and let me know if I'm ready for my Senior Show. It went well, but I am glad to have it over with! One of the things I like to do as I create artwork is to make lesson plans to go with them that I could later use for my students when I am teaching art. For this painting, I created a lesson that I would call, "Paint like ______". This is the process I would have students follow: -Research an Artist, their style, medium, and famous art works -Choose one of the artworks, print it in color, and cut a piece out -Glue that piece on to a canvas -Paint around the piece in the style of the artist -Use the same medium and techniques they used -Color match with paint, blend in cut out image For my painting, I looked at Monet and used his "Haystacks" painting. I painted impressionistically around it with broken color and visible brush strokes to simulate his style. I also referenced Monets "Waterlillies" paintings in my composition. Here is the lesson plan I created for this. There are various resources at the bottom that I used. This could be used for middle school or high school and there are endless possibilities for what you could do with it. Incorporating art history is always a great thing!!
Happy Spring! -J I took a photography class this summer and I have been using many of my images I took for inspiration for my artwork. Since I have been looking at these photos so often, I have been able to view my final model project for the class which was my Chalk Art Photo-Shoot. My lovely cousin, Ronna modeled for me on a 90 degree day in July on the blacktop of a church parking lot. I would definitely trade that day for the snowy weather we have been having lately! For this photo-shoot, I used -Chalk (have a lot if you are doing something big, like this) -Water -Rags -Camera -Ladder -Model -A concept or idea for your chalk art The assignment for this class was to create a photo-shoot with a model. I decided I wanted to do something way different than just a simple model or commercial shoot. So I decided to do something with chalk art. Then I thought it would be fun to do something with 4 seasons, so that my model could change clothes for each season. I shot these photographs from the top of a ladder, so I started by getting up on the ladder and figuring out how large my frame would be, then marked it so that I could begin drawing with the chalk. These were pretty large areas, so it took a lot of chalk, and we got close to running out! We used water and rags to smear the chalk and make it a more flat color- this is definitely necessary to get a good looking chalk image! I didn't really use any references when drawing with the chalk, we kind of just thought up ideas as we went, going along with the seasonal theme. Yes, that's right I said "we", my model was an artist with me. It was so hot, we would do anything to move it along a little more quickly to get off the hot blacktop! This was such a fun shoot, and I had a blast with my cousin. It was more time consuming with the amount of chalk drawing that we had to do, but one of the most difficult things was to figure out the best way to pose the model to make her look like she was standing, rather than lying down. I think she did a great job with my little experience in directing a model! Here is my Photography Ideas board on Pinterest that served as some inspiration for this photo-shoot and other photography ideas I have had! Happy Photographing! -J Another DIY Wedding post! Yay! Today I am talking about how I made our fun send-off - the ribbon wand! There are many different ways couples can have the "send off"--the most traditional being rice, flower petals, bubbles, sparklers, balloons, and more! Here are my gorgeous, enthusiastic bridesmaids holding the fabulous ribbon wands. This is a simple idea that is a bit time consuming.
You need: -Long wooden dowel craft sticks -Various types of ribbon -Hot glue All you really do is cut the ribbon to the length, or various lengths that you want and administer hot glue to one end of the craft stick. I overlapped 3 different types of ribbon on each craft stick using the hot glue. Later on I went and cleaned up all the hot glue and thats all there was to it! All of the supplies were found at Michael's. This is just a fun pretty way to wave out a couple of newlyweds after their wedding ceremony! Last semester I took 4 studio art classes, and this semester I only have 2, so I do not have as much art to do, but I am able to focus more on the classes I have. Here is some of the work I have done so far this semester in Printmaking. So for we have done monotypes, intaglio, and we just started relief printmaking with linocuts. The Alice in Wonderland print is a relief linocut. I thought it would be a cool example for a high school art lesson that might include making a print that could represent a classic book cover. The hands are an image I found online, this is intaglio. The skull was our first project that the whole class did. This is a monotype with 4 drops made from a still life observation. I really love my lion monotype. I found the image online and I played with different techniques in the mane. I like how it turned out! This is my latest intaglio, which is an image of myself. Here's the board in our classroom with everyone's work on it. Printmaking is such a fun process because you never know exactly how a print will come out during the long process of cutting, inking and preparing to print.
I did not know much about printmaking prior to this class so I have had a lot of fun learning all of the techniques. Check out my printmaking board on Pinterest! -J |